

10 Easy Steps to Create a New Cluster in an Existing RHEV Setup
Learn how to create and manage a new cluster in RHEV, allowing you to expand your virtualization infrastructure and better meet the needs of your orga


Welcome to our blog on creating a new cluster in an existing Red Hat Enterprise Virtualization (RHEV) setup. In this guide, we will cover topics such as configuring hosts, creating virtual networks, and managing storage. By the end of this guide, you will have a solid understanding of how to create and manage a new cluster in RHEV, allowing you to expand your virtualization infrastructure and better meet the needs of your organization. So, let’s get started!
In this article, we will take a step-by-step look into how to go about the following:
Installing RHVH 4.3.7 image on two hypervisors
Configuring a network, bonding and validating the network
Creating separate clusters of new RHVH hosts
Creating new storage domains
Adding Nodesto RHEV
Note: The names and naming conventions used here are for demonstration purposes only, please change them as necessary
Step 1:
Install RHEV4.3.7 ISO image on both the hypervisors
Install RHEV4.3.7 on both the hypervisors

Step 2: Validate both hosts after installation
- RHVH-1


- RHVH-2


Step 3: Check the Network and DNS
- RHVH-1

- RHVH-2

Step 4: Configure chrony on the hosts and validated them
- RHVH-1

- RHVH-2


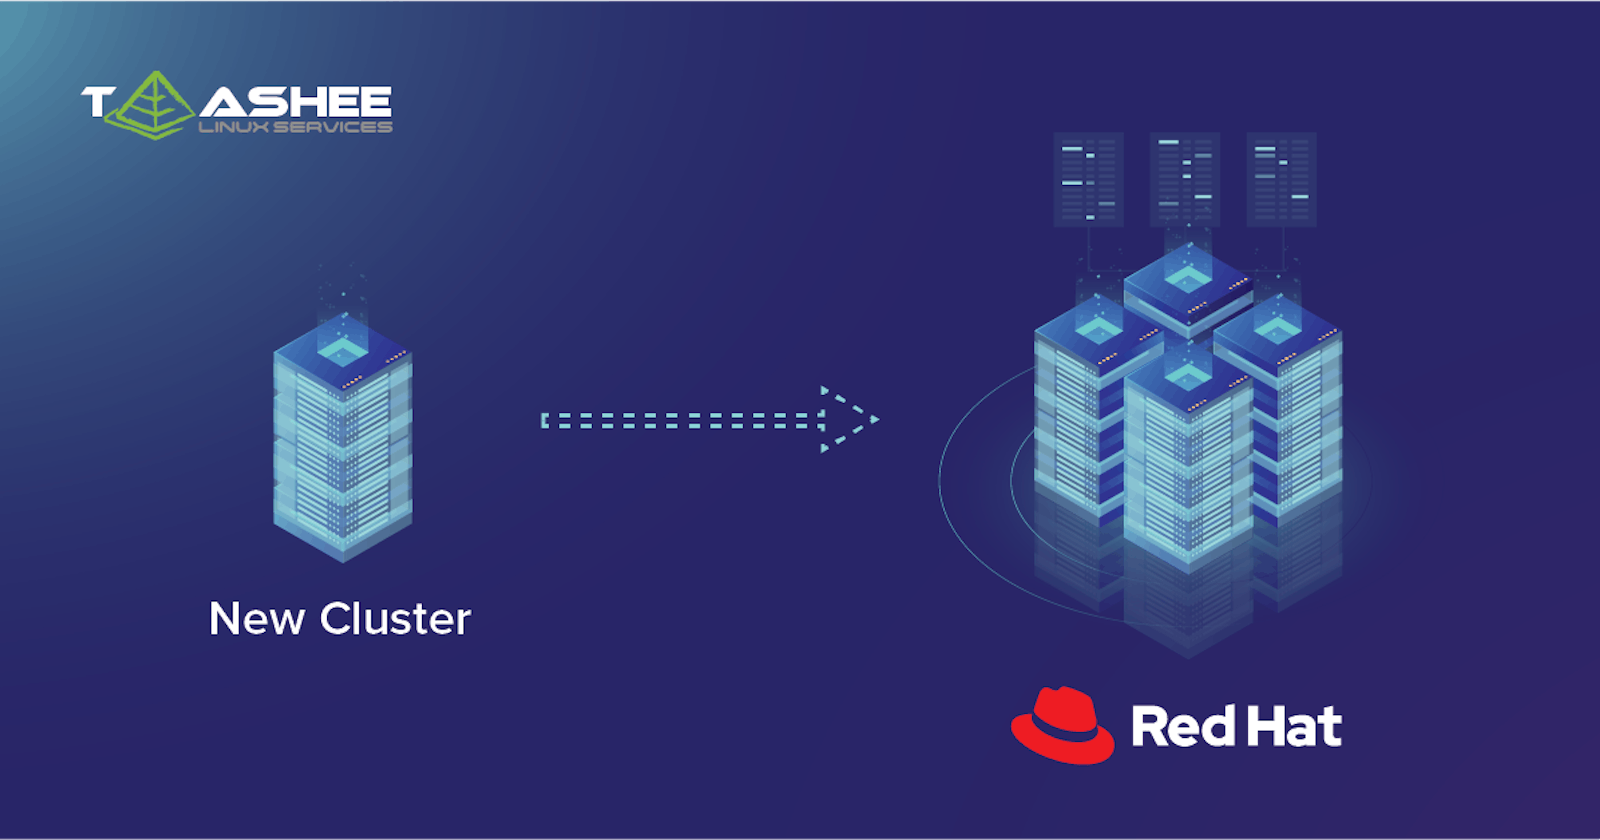
Step 5: Create a new cluster(here, we named it TCPAIMSCLU2)


Step 6: Add both the hosts in the new cluster
- Adding RHVH-1 to the cluster


- Add RHVH-2 to the cluster


Configure the bond (mode-1) on both hosts
- RHVH-1 bond configuration


- Validate the bond after configuration


- RHVH-2 bond configuration


- Validate the bond after configuration


Creating Storage Domains
Step 7: Create a new storage domain (here, we named it RESS_websphere)

Step 8: Create a new storage/OS domain

Step 9: Create a new GFS2 storage domain (here, we named it RESS_GFS_DISK01)


Step 10: Validate all the newly created storage domains

And that should be all you have to do!
Creating a new cluster in an existing RHEV setup can be a great way to expand the capabilities of your virtualization infrastructure. The process of adding new hosts, configuring virtual networks and managing storage can be challenging, but with the right steps, it can be done easily. By following the guidelines outlined in this blog, you should now have a better understanding of how to create and manage a new cluster in RHEV. With this knowledge, you can confidently take on new projects and improve the efficiency of your virtualization environment. We hope this blog has been helpful and informative, and we encourage you to continue learning and experimenting with RHEV to fully utilize its capabilities.
This article was originally published on our company blog.